98-05 Lexus GS300/400/430 HID Retrofitting DIY
*Disclaimer - This guide is simply a brief tutorial on how to perform your own HID retrofit. We are not liable for any damages that may occur in your attempt to retrofit your own headlights or someone elses. Use this guide at your own risk!
*All images can be enlarged if you click on it*
*LuxuryMods.com - Your Shop for ALL your HID Retrofitting Needs!*
Step 1
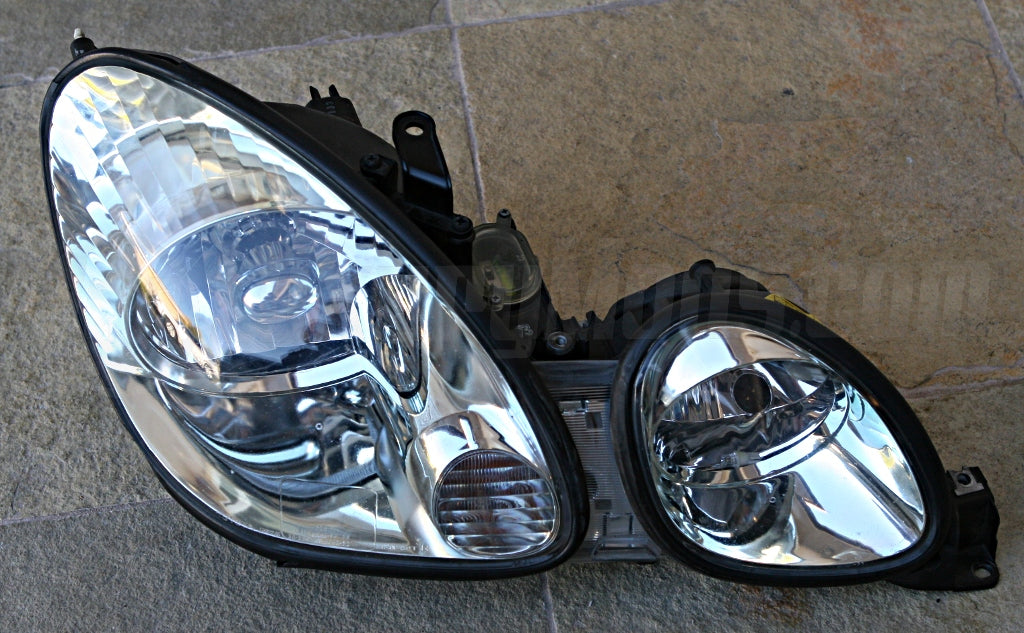
Start with a nice 98-05 GS300/GS400/GS430 HID or Halogen headlight. The headlight we are using for this tutorial is a factory 01-05 HID headlamp.
98-00 - HID & Halogen headlamps have silver bezel
01-05 - HID & Halogen headlamps have green tinted bezel
HID headlamps have auto leveling motors and cannot be plug & played into non-HID equipped vehicles.
Step 2
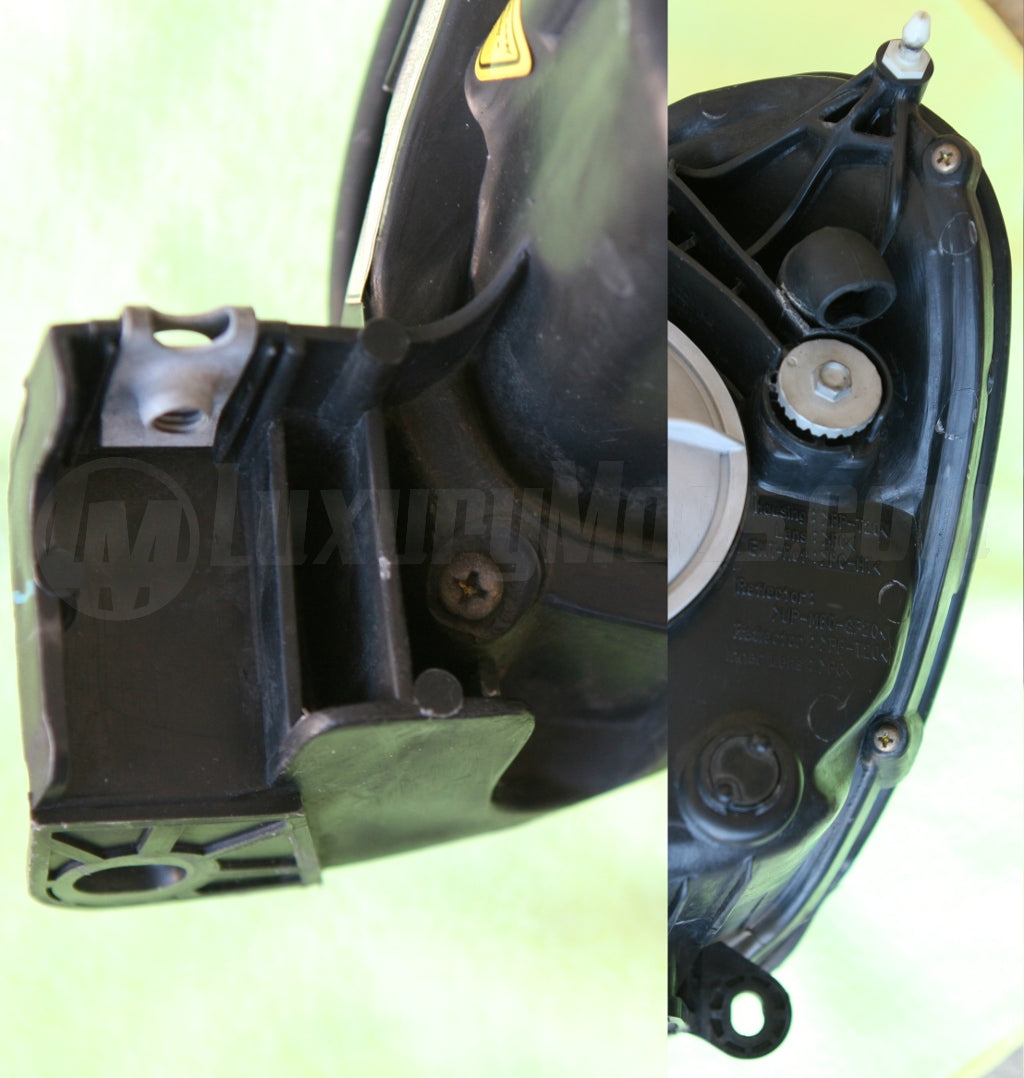
Remove everything you can from the rear of the housing. Screws, mounting clips, etc.

Step 3
These are most important to remove because if you don't, you'll end up breaking something once you try to separate the lenses from the housing.
Step 4
If you do not have factory HID headlamps, you can skip this step.
To remove the motor, simply follow the arrow on the housing. Turn the motor the correct direction and gently pull it out of it's socket.

Step 5
Here's a shot of it removed.

Step 6
Here's a shot of everything else that I removed from the housing.

Step 7
Once everything is removed from the headlight, preheat your oven to 250 degrees.

Step 8
Oven temperature & heating time varies from all the write-up's I've seen. 250 degrees for 10 minutes works for me and I've never melted any lenses. Please use these #'s as a reference point and adjust accordingly.

Step 9
After 10 minutes, (put on some gloves) remove the headlamp from the oven and pull apart. This step is very important, sorry I couldn't snap pictures during the process. Reason being is that the glue will get all over your bezel if you're not careful. So take your time separating and keep the glue from stretching and sticking onto your bezel.

Step 10
There is 1 screw that is holding the bezel onto the rear headlamp housing. Remove it then you can pull the bezel out easily.

Step 11
Here's a shot of both pieces separated.

Step 12
This step explains how to clear your turn signals. It's simply an orange lens that can be slid out easily by prying the cover open.

Step 13
There are 4 clips, you'll only need to remove 3 of them to be able to slide the cover off. Once off, you'll see the orange disk you'll toss.

Step 14
Here's the after shot. Nice and clear!
![]()
Step 15
Now you'll remove the reflector bowl from the housing. Use an 8mm socket (turn counter-clockwise, lefty loosey) until the bowl falls out.

Step 16
Grab your LuxuryMods.com EXCLUSIVE HID retrofitting brackets. Remove the adjusting clips from the factory reflector.

Step 17
Simply install those adjusting clips into our brackets.

Step 18
Install the brackets onto your projector of choice. Brackets shown are for Infiniti Q45 projectors.

Rear shot of finished retrofit

Front shot of finished retrofit

Sorry there are some missing steps after Step #18. All that needs to be done from that point is to re-install the projectors into the housing. Then you will test fit the factory chrome bezel and trim away at necessary points that make contact with the projector.
This should get you going and give most of you help to finish. ENJOY and Happy Modding from